 Skip to content
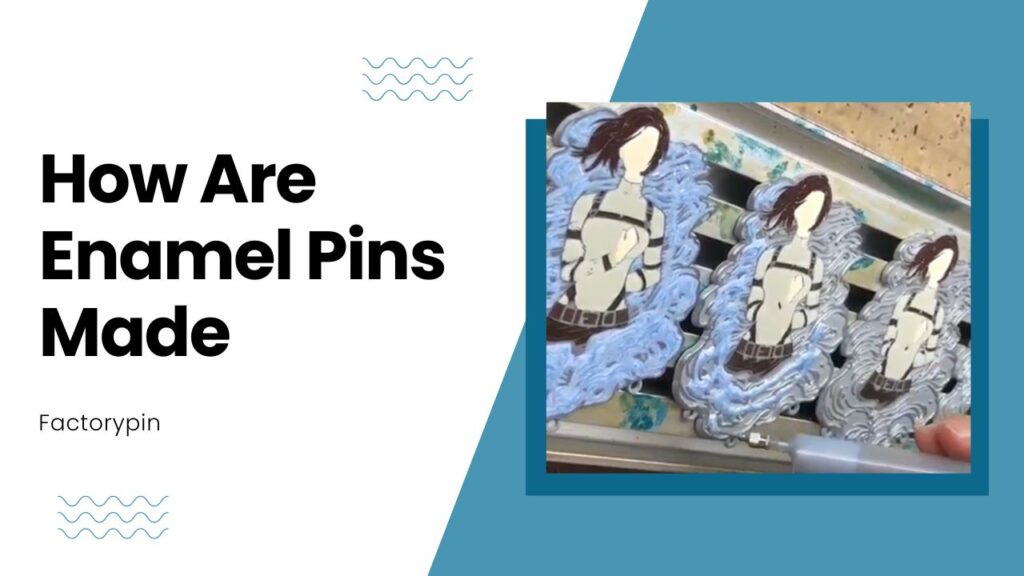
Enamel pins are everywhere these days – jazzing up backpacks, denim jackets, and even the occasional lapel. They may be small, but behind every pin is a carefully controlled manufacturing process that turns a simple design into a durable, collectible product.
So how are enamel pins actually made?
Whether you’re planning to create custom pins for a brand, event, or collection, understanding the process helps you make better design choices and avoid costly mistakes. Let’s break it down step by step!
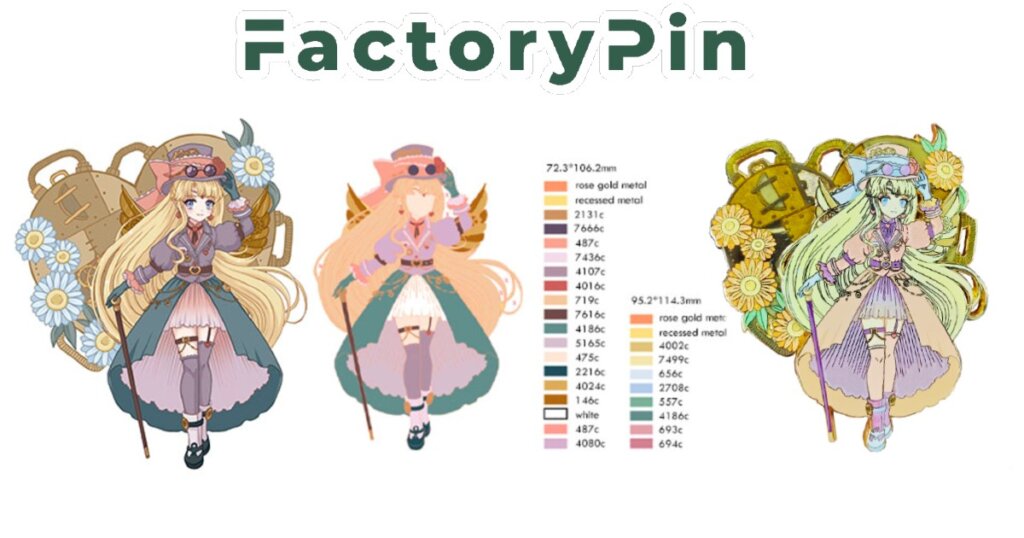
1. Design & Specifications:
No matter which enamel pin process you choose, a clear and production-ready design file is non-negotiable. Every enamel pin factory works based on the information provided at this stage, and any ambiguity here will directly affect the final result.
Artwork Files & Formats
Design files can be submitted in JPG or PNG format, but AI or PSD files are strongly preferred. Vector or layered files allow factories to adjust metal lines, colors, and proportions accurately before mold making.

Color Standards: Pantone C
All professional enamel pin factories match colors using Pantone C (Coated) references. This is not a preference — it is an industry-wide standard.
No matter which factory you work with, enamel colors will be mixed according to Pantone C unless you explicitly accept color variation. If color accuracy matters to your design, providing Pantone C codes is essential.
Metal Line Thickness
Metal line thickness must be carefully controlled, typically between 0.2–0.3 mm.
This is not just a visual guideline. Metal lines are engraved directly into the mold, and if the dimensions are incorrect, several issues can occur in the finished pins, including:
- Broken or disconnected metal lines
- Thinner-than-expected metal outlines
- Incomplete corners or weak turning points
These defects often become visible only after production, at which point revisions are costly or impossible. Ensuring proper metal line thickness at the design stage is one of the most effective ways to prevent structural defects in enamel pins.
2. Manufacturing Process
Enamel pin production generally includes the following main steps:
- Mold making
- Stamping
- Cutting the pin shape
- Plating
- Enamel filling
- Polishing
While both soft enamel pins and hard enamel pins follow this general flow, the specific production sequence differs, which affects appearance, durability, cost, and available plating options.
To make this difference clearer, we include a simplified process diagram showing how soft enamel and hard enamel pins diverge during production.

Because of the different curing and polishing processes involved, plating options vary between soft and hard enamel pins.
- Hard enamel pins are generally limited to stable, standard finishes such as gold, silver, black nickel, and rose gold.
- Soft enamel pins can support a much wider range of plating options, including rainbow plating, antique finishes, and other specialty coatings.
For a detailed breakdown, you can refer to our Enamel Pin Plating Options guide.
Backing Attachment:
The back of an enamel pin is just as important as the front, especially for long-term use.
Common Backing Options
Depending on how the pin will be worn or displayed, you can choose from options such as:
- Rubber clutches
- Butterfly clutches
- Magnetic backs
- Safety pins
A full comparison can be found in our Pin Attachment Guide.
How Pin Posts Are Attached
Pin posts are attached to the back of enamel pins using either welding or industrial adhesive bonding. Neither method is universally better; the choice depends on the pin’s material and structure.
In some designs, welding is not feasible, making adhesive bonding the only practical option. If maximum strength is required, welded pin posts are generally preferred, and this requirement can be communicated to the factory in advance. to the factory before production begins. Clear communication at this stage prevents structural issues later.
3. Quality Control
Quality inspection is the final step before packaging and shipment, and it directly determines what you receive.
Before shipment, our factory workers carefully clean each pin to remove fibers, dust, or metal debris. Pins are then inspected for:
- Scratches on metal surfaces
- Bubbles or sunken spots in enamel areas
- Plating defects or uneven coverage
Any pin with visible defects is either reworked or discarded and remade.
This stage clearly reflects a factory’s quality standard. When quality control is handled properly, the finished products are far more likely to be A-grade enamel pins — suitable for resale, gifting, or brand representation.
When QC is neglected, the consequences are not just visual. Poor-quality pins often lead to:
- Products that are difficult to sell
- Customer complaints and returns
- Long-term damage to brand image
In custom production, quality control is not a cost — it is risk management.
4. Working with Manufacturers
If you want to compare multiple factories to find the right fit, reviewing a list of reliable manufacturers is a good starting point. Experience, communication, and process stability matter far more than price alone.
If you choose to work with us, Factorypin specializes in custom enamel pins and other metal products for international customers. Our production approach focuses on clear specifications, controlled processes, and consistent quality, which has resulted in a repeat order rate of around 70%.
Whether you are producing enamel pins for the first time or refining an existing design, working with an experienced manufacturer can save time, reduce risk, and ensure your final pins reflect their intended value.

