Enamel pins may be small, but they carry big value—whether they symbolize your personal achievements, showcase your favorite fandoms, or form part of a business inventory. However, they’re not immune to dirt, tarnish, or damage over time. If you want to keep your pins looking brand-new, regular care and cleaning are essential.
This guide is for everyone—whether you’re a collector aiming to preserve your pins for display or a seller wanting to deliver pristine pins to your customers. Let’s dive into step-by-step instructions on how to clean enamel pins effectively, prevent damage, and maintain their vibrant appearance.

Common Issues with Enamel Pins
Before diving into the solutions, it’s important to understand the problems enamel pins typically face:

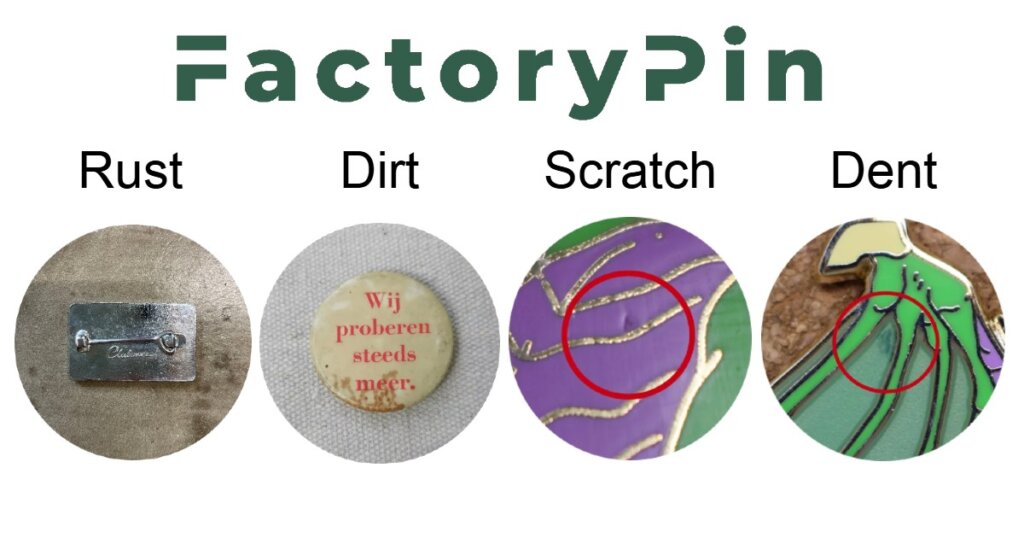
- Tarnish and Oxidation: Metal parts may lose their shine over time due to exposure to air and moisture.
- Scratches: Rough handling or improper storage can leave visible marks on the enamel or metal surface.
- Discoloration: Pins may yellow or fade if exposed to sunlight or certain chemicals.
- Stains and Dirt Buildup: Everyday wear can lead to grime accumulating in crevices or on the enamel surface.
Now that we’ve identified the issues, let’s explore how to tackle them effectively.
Step-by-Step Guide to Cleaning Enamel Pins
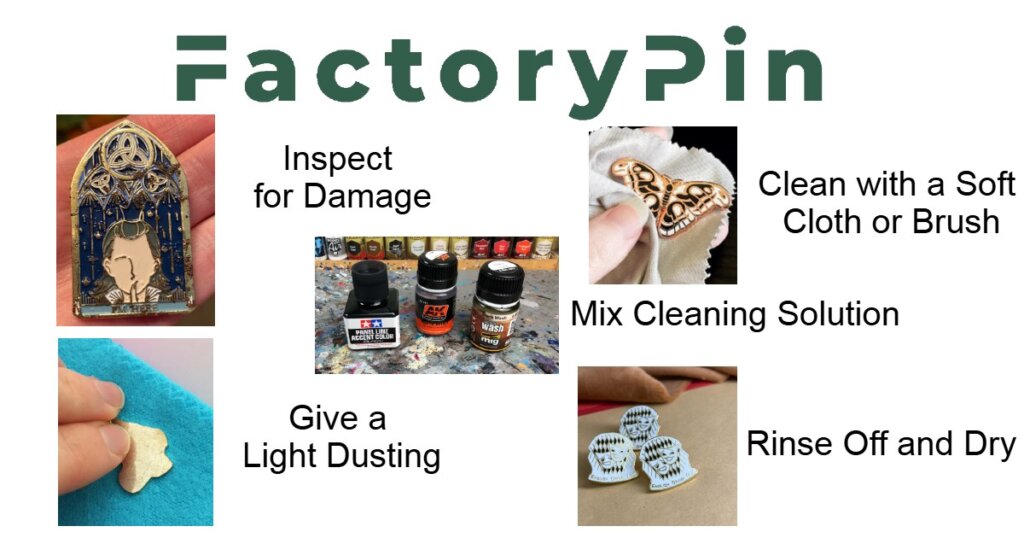
1. Basic Cleaning for Dust and Surface Dirt
Materials Needed:
- A soft microfiber cloth
- Warm water
- Mild dish soap
Steps:
- Prepare the Cleaning Solution: Mix a few drops of mild dish soap with warm water in a small bowl.
- Wipe the Surface: Dampen a microfiber cloth in the soapy water and gently wipe the enamel pin’s surface. Avoid soaking the pin entirely, as prolonged exposure to water can damage the metal.
- Dry Thoroughly: Use a dry microfiber cloth to pat the pin dry immediately, ensuring no water residue remains.
Tips:
- Avoid abrasive materials like paper towels that may scratch the enamel.
- For pins with intricate designs, use a soft-bristled toothbrush to reach tiny crevices.

2. Removing Tarnish from Metal Parts
Materials Needed:
- A jewelry polishing cloth or metal cleaner (non-abrasive)
- Cotton swabs
Steps:
- Spot Test the Cleaner: Before applying any cleaner, test it on a small, inconspicuous area to ensure it doesn’t damage the pin.
- Polish the Metal: Gently rub the tarnished areas with the polishing cloth. For tight spots, use a cotton swab dipped in the cleaner.
- Buff and Shine: Wipe away any residue with a clean, dry cloth and buff the surface for a polished look.
Tips:
- Never use harsh chemicals like bleach, which can ruin the pin.
- Work in a well-ventilated area if using commercial cleaners.
3. Addressing Scratches on Enamel
Materials Needed:
- Car polish or a plastic scratch remover
- A soft microfiber cloth
Steps:
- Apply the Polish: Place a small amount of car polish onto the scratched area.
- Buff the Surface: Use the microfiber cloth to rub the polish in circular motions gently.
- Inspect and Repeat: If the scratch persists, repeat the process until it becomes less noticeable.
Tips:
- Avoid excessive pressure, as it can worsen the scratch.
- For deep scratches, consider professional restoration.
4. Dealing with Discoloration or Yellowing
Materials Needed:
- Baking soda
- Water
- A soft toothbrush
Steps:
- Create a Paste: Mix baking soda and water into a paste.
- Scrub Gently: Using a soft toothbrush, apply the paste to the discolored areas and gently scrub in small circles.
- Rinse and Dry: Wipe the pin with a damp cloth to remove residue, then dry thoroughly.
Tips:
- Test this method on a small area first to ensure compatibility with your pin.
- Regular cleaning can prevent discoloration from worsening.
Storage and Maintenance Tips for Enamel Pins
Proper storage and maintenance are just as crucial as cleaning to keep enamel pins looking pristine.
1. Avoid Moisture and Humidity
- Store pins in a dry, cool place to prevent tarnish and oxidation.
- Consider adding silica gel packets to storage containers to absorb excess moisture.
2. Use Protective Displays
- Display pins on corkboards or fabric-covered foam boards to keep them organized and protected.
- For long-term storage, use padded jewelry boxes or shadow boxes with glass covers to minimize dust exposure.
3. Handle with Care
- Always handle pins by their edges to avoid fingerprints or smudges on the enamel.
- Avoid placing heavy objects on top of stored pins to prevent bending or damage.

Final Thoughts
Keeping your enamel pins clean and cared for doesn’t have to be complicated. Whether you’re a collector cherishing sentimental pieces or a seller delivering quality products, these cleaning and maintenance techniques will ensure your pins remain in top condition.
From routine cleaning with gentle soap to restoring tarnished metal with a DIY paste, every step counts toward preserving their shine and durability. Pair this with proper storage practices, and your pins will stay as vibrant and pristine as the day they were made.
Do you have a favorite method for cleaning enamel pins? Share your tips in the comments below!

