


Wonderful! pins turned out great and even had extras of each. a couple b grade but other wise amazing quality

I have ordered from this supplier many times and each time has been a fantastic experience. Absolutely recommend! Thank you as always!

I am very pleased with the product.They kept me up to date with the shipping and followed up to see if I received the product and was happy with it.The shipping time was very quick.

The products are very good in quality, The logo design is perfect. Thank you for good service, Especially, you sales team, they did very well.
The items were good quality, shipping was fast and the rep was very helpful and showed the whole process and sent images to review etc.
The products are very good in quality, The logo design is perfect. Thank you for good service, Especially, you sales team, they did very well.

These pins are absolutely gorgeous! This company works very hard to create beautiful pins that are perfect down to every detail. Kathy is especially helpful and easy to work with!

we recommend it, the tavar is high-quality,the seller is responsive and pleasant in communication, the order is sent quickly, thank you.

Great quality! I will definitely buy more!


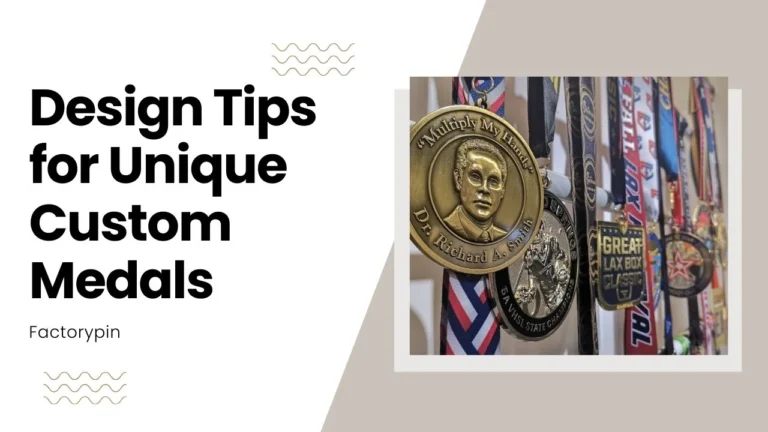
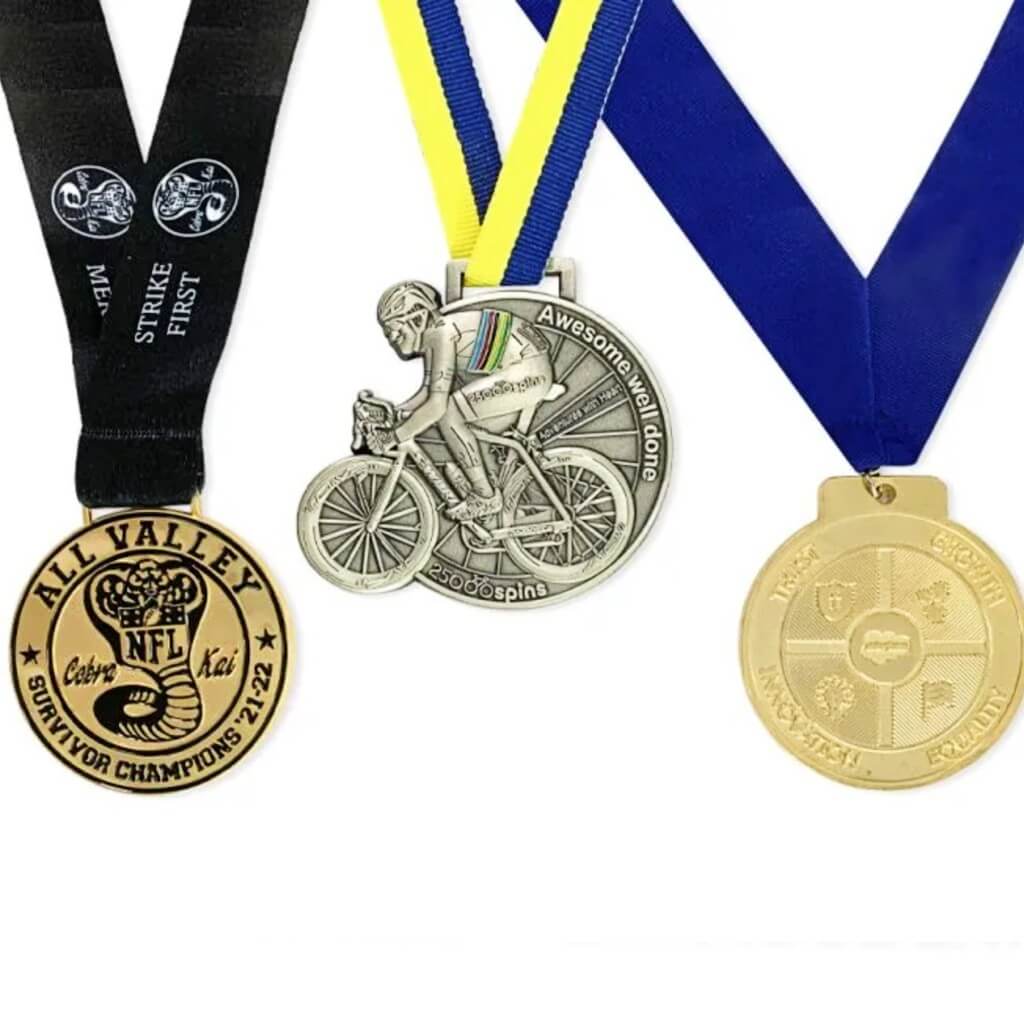
Design Tips for Unique Custom Sports Medals
Designing a unique custom medal is about much more than choosing a good-looking shape. For sports events—whether it’s
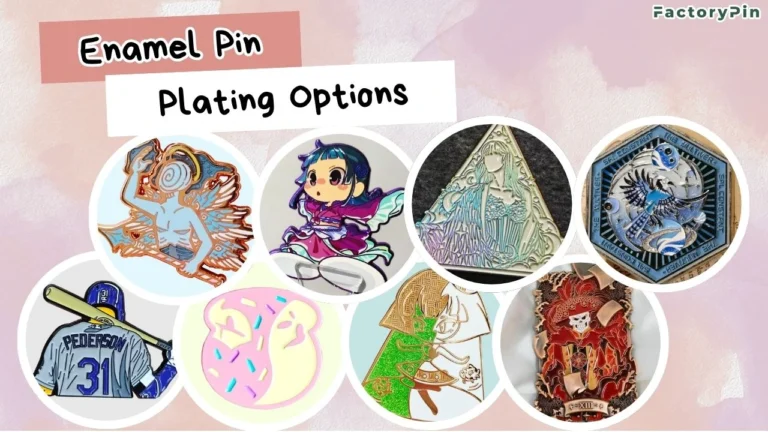
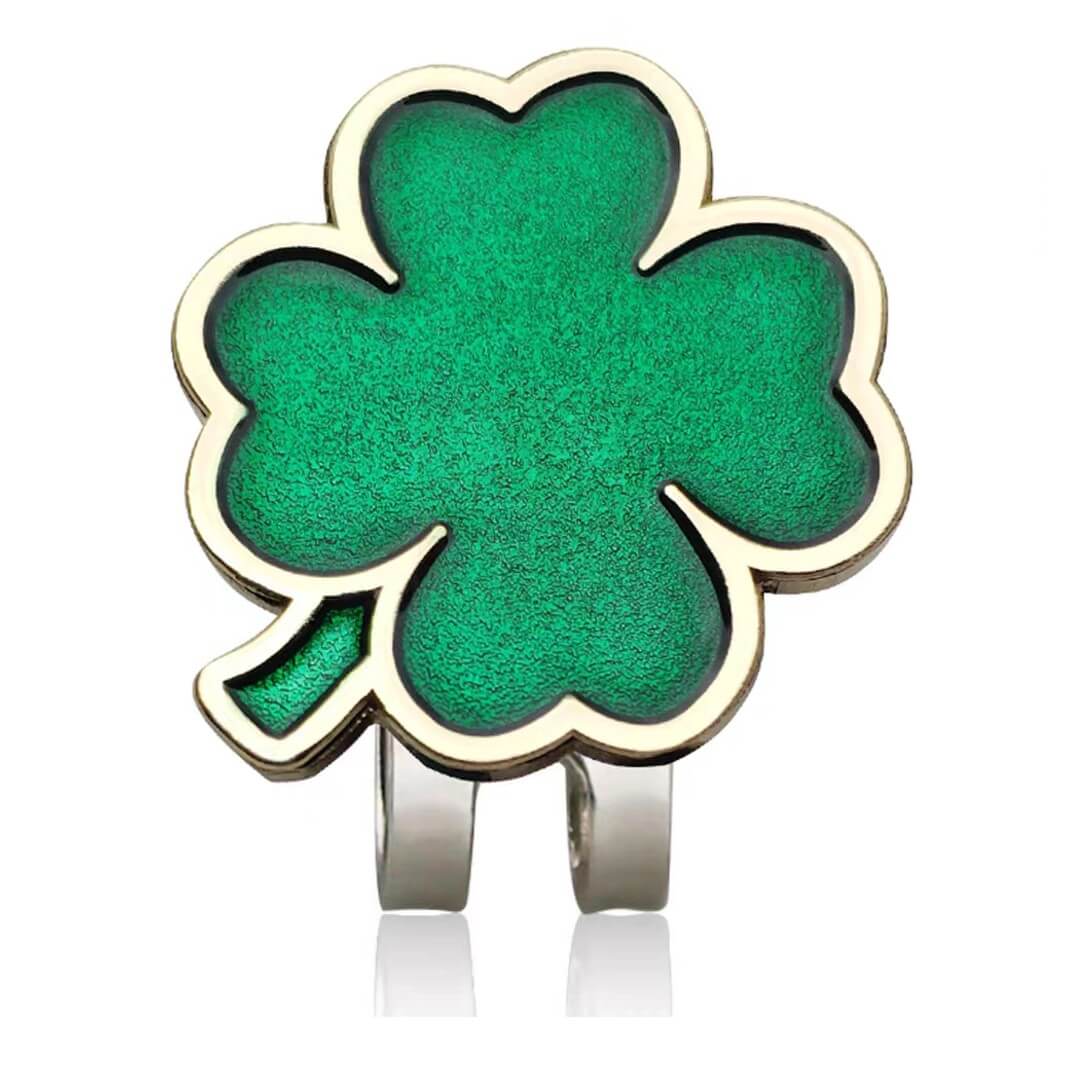
Enamel Pin Plating Options: How to Choose the Right Finish for Your Design
When customizing enamel pins, plating option is one of the most important—but often overlooked—decisions. While most people focus
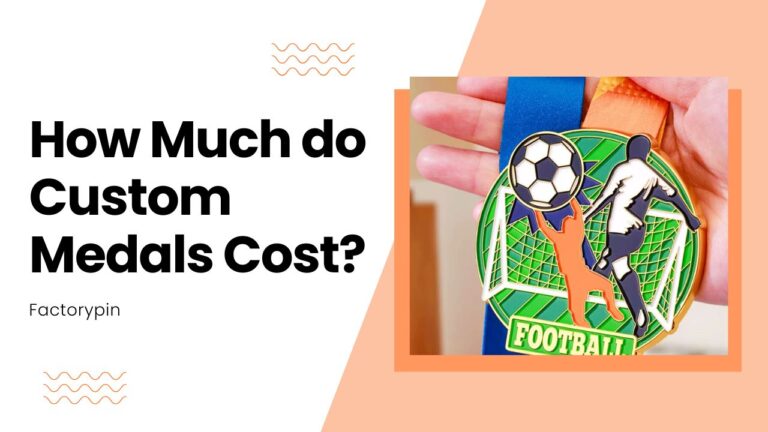
How Much do Custom Medals Cost?
If you’re ordering custom medals for a school competition, sports event, or official ceremony, price is usually one