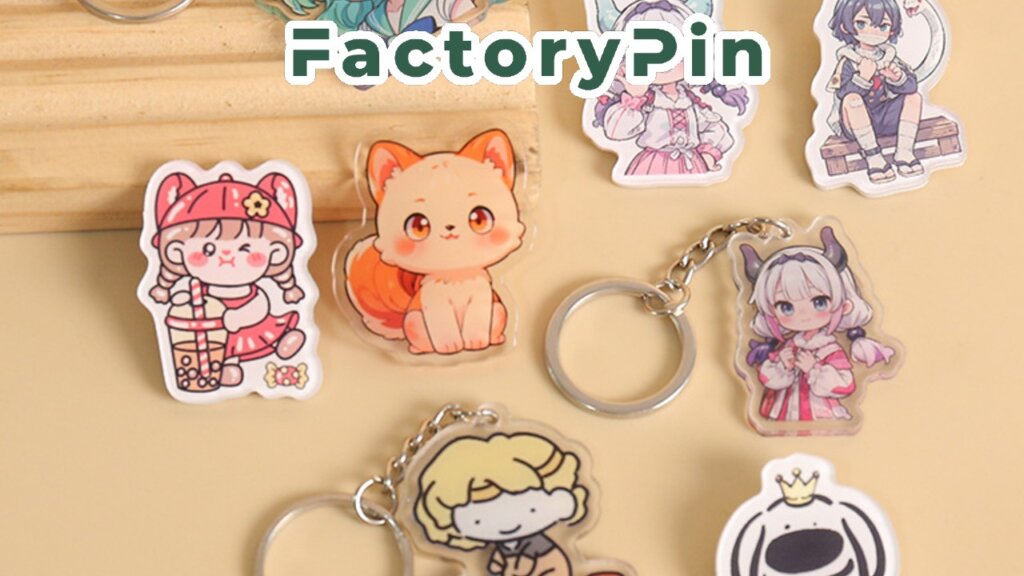
So you’ve got a killer design—a little frog holding bubble tea, or maybe a pastel girl floating with a bunch of space cats—and now you’re wondering: how do I turn this into a real keychain I can actually hold in my hand?
Good news: acrylic keychains are one of the easiest and most affordable ways to bring your art into the physical world. They’re cute, durable, and look almost exactly like your original illustration. Plus, compared to plushies or custom figures, they don’t require a massive investment to get started.
Whether you’re making one for fun or planning to launch your own merch line, there are two main ways to go about it:
- Try a simple DIY method at home
- Or work with a professional manufacturer for factory-quality results
Let’s take a quick look at both.
🎥 Start Here: Watch This Video First
If you’re just dipping your toes in, or want to test how your design looks in real life, there are plenty of fun, budget-friendly DIY methods out there—especially using shrink film.
Rather than repeating what dozens of videos already explain super well, I’ve picked a few beginner-friendly tutorials you can follow. These walk you through everything from printing your design to baking it into a mini charm (yes, you’ll need your oven). You’ll find links to them below 👇
Heads up: DIY keychains are great for fun or gifts, but they won’t have the same durability or polish as factory-made ones. Shrink film can warp or yellow over time, and the gloss finish is hard to replicate perfectly at home. But hey, for a weekend project? Still super satisfying.
🧭 When You’re Ready to Go Bigger
Here’s the thing: DIY is fun, but if you want your keychains to look clean, polished, and professional, working with a manufacturer is the way to go. Especially if you’re planning to sell them, or just want better finishes.
And no, the process isn’t scary or complicated.
All you need to do is:
- Find a manufacturer (like us 😉).
- Submit your design and tell us what you want (size, style, quantity, etc).
- Approve the sample, and let the factory handle the rest.
How to Find a Trustworthy Manufacturer
If you don’t already have a factory in mind, here are a few ways to get started:
- Google “acrylic keychain manufacturer near me” — surprisingly helpful if you want to support local or just reduce shipping times
- Search on Etsy, Alibaba, or independent artist forums — check reviews and look for samples in customer photos
- Ask other artists — Twitter/X, Discord art servers, or Instagram DMs are great for getting real-world recommendations
Based on community feedback and public reviews, here are a few manufacturers people often recommend:
- Vograce – Known for lots of customization options, fast turnaround
- Zap Creatives – UK-based, popular with indie artists
- Lollipopins – Simple UI, smaller range of effects but great quality
(You’ll want to compare pricing, minimum order quantities, shipping times, and finish options. Don’t forget to request a sample if possible.)
So… What Can You Actually Make?
Way more than you think. Factories offer all kinds of cool effects and finishes that are hard (or impossible) to do at home. Here’s a quick visual summary:
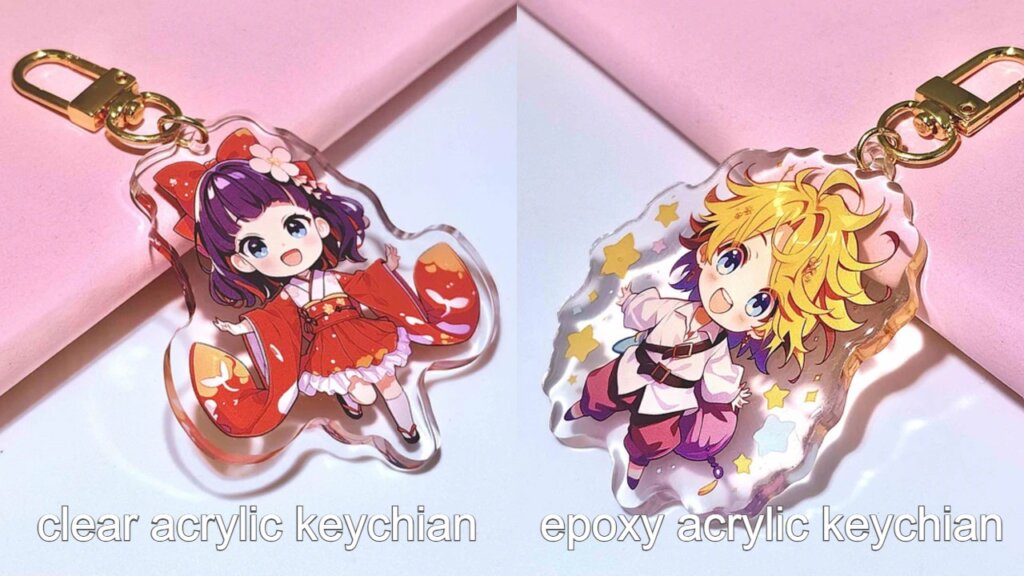
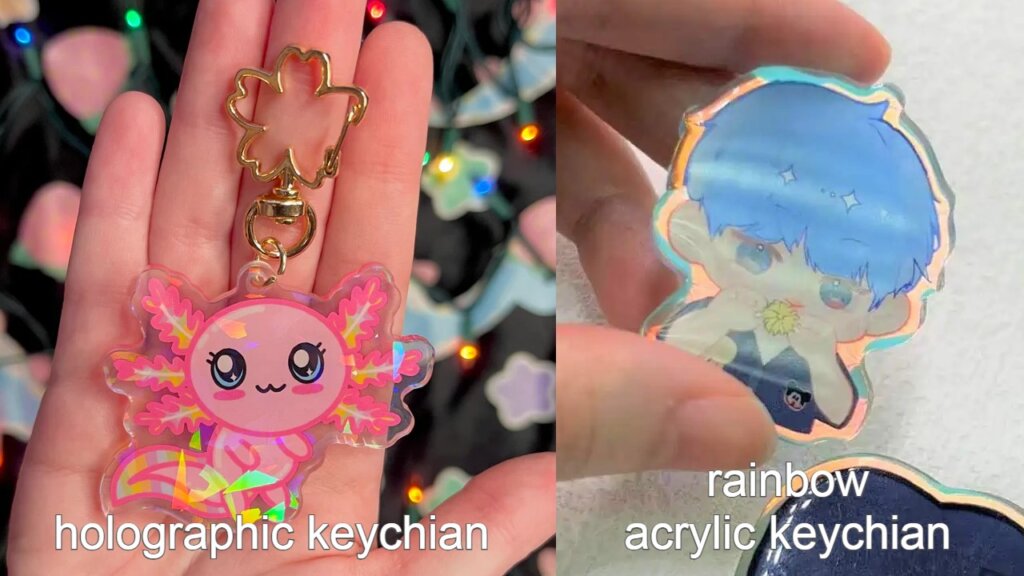
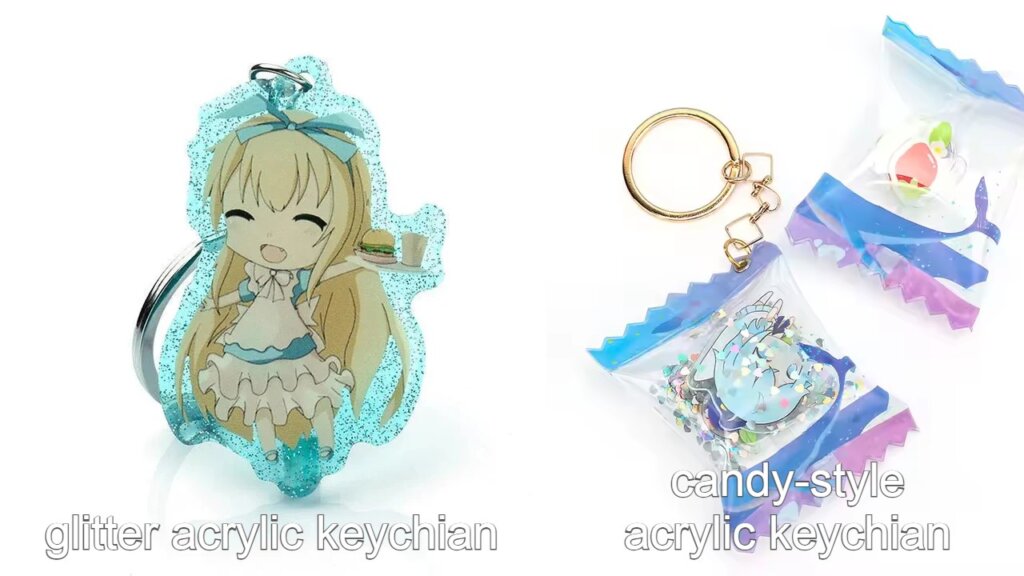
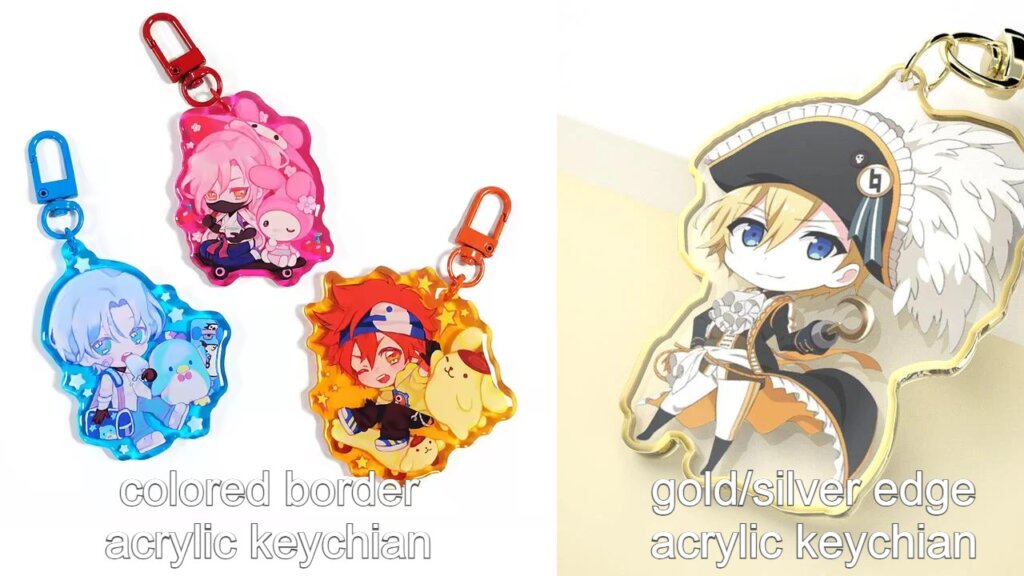
And in one batch order, you can mix and match styles—like combining a holographic top layer with a glitter back and a gold edge. Pretty wild, right?
That’s the fun of working with a pro factory: your idea gets leveled up into something unique, eye-catching, and super high quality.
💬 Final Thoughts (and a Shameless Plug 😎)
Whether you’re DIY-ing for fun or launching your own merch line, making acrylic keychains is such a rewarding first step. You’ll literally be holding your art in your hand—and trust me, that never gets old.
If you’re ready to make your designs real (with factory-level finishes and affordable MOQs), we’d love to help! Just head over to our site and drop us a message with your design. Our team will walk you through everything, no pressure.
Happy making 💖
