
Lapel pins! Those tiny metal badges of honor, personality, and sometimes, questionable fashion choices. Whether you’re a seasoned designer, a newbie with a brilliant idea, or just someone who wants to commemorate their cat’s epic nap, this guide is your ultimate resource for creating custom lapel pins. We’ll cover everything from initial design to final production.
Part 1: How to DIY a Lapel Pin at Home (Yes, Really!)
When it comes to lapel pins, the term refers more to their use and size than the production process itself. Technically speaking, hard enamel, soft enamel, die-struck, 3D molded, and other types can all be classified as lapel pins.
However, not every pin-making method is suitable for at-home crafting. If you’re into DIY, your best bet is the soft enamel style — and here’s why:
Soft enamel lapel pins are made by stamping the metal base, electroplating it with a finish, and then filling the recessed areas with color. Once the base is made and plated, you can handle the rest yourself — from coloring to adding special effects.
Step-by-Step: Make a Lapel Pin at Home
1. Get Your Blank Pin Base Made
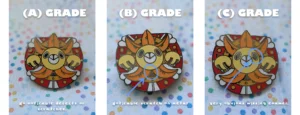
Start by ordering the metal blanks. These are usually white, unpainted pins made of resin or PVC, similar to unpainted figurines. They come pre-molded with your design’s shape and raised outlines, but without any color or finish — perfect for DIY work.
The good news? These blanks are relatively affordable and don’t require a custom mold like metal pins do. You can often find them on crafting platforms or marketplaces like Temu, Etsy, or AliExpress — no need to contact a full pin manufacturer unless you’re looking for something highly customized.
Choose a base with a design you like (or create your own if you have access to 3D printing), and you’re ready to move on to the fun part: coloring and decorating.
2. Gather Your DIY Tools
Once your shiny blank pins arrive, it’s time to set up your pin-making station. Here’s what you’ll need:
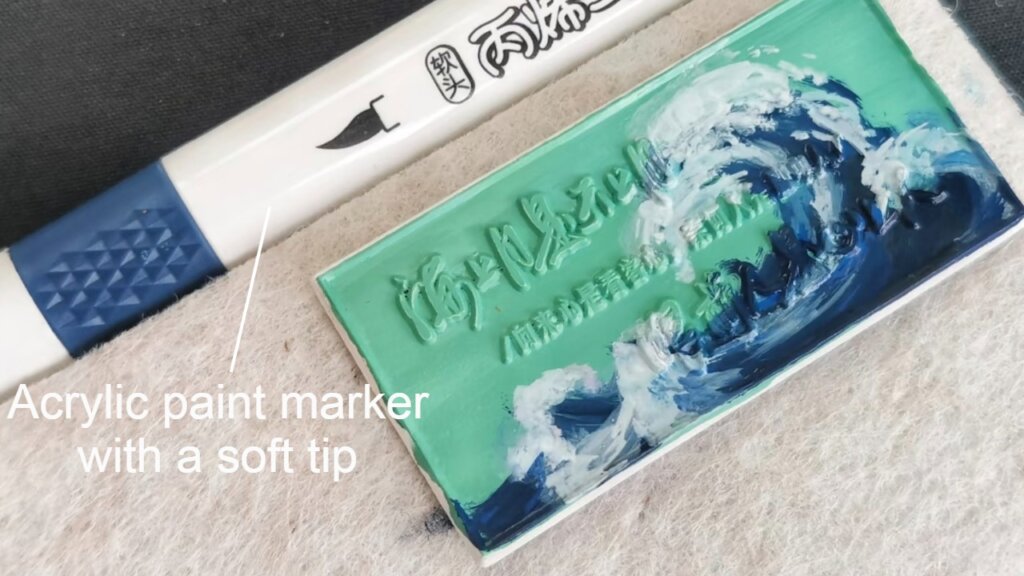
- Soft-tipped acrylic paint markers (for coloring)
- Fine glitter or shimmer powder (for special effects, optional)
- AB epoxy resin (for doming/clear coating)
- UV lamp (to cure the resin)
- Makeup remover pads & alcohol (for cleanup)
3. Start Coloring
Use your acrylic markers to fill in the recessed areas of the pin, just like coloring in a very tiny coloring book. If you want gradient or blended effects, use soft-tip markers and gently smudge or blend the colors before they dry completely.
Tips:
- Let each layer dry fully before adding another.
- For blending, wait until the first color is half-dry for best results.
- Don’t worry if some color gets on the metal edges — you can clean it off later.
4. Add Special Effects (Optional)
Want a bit of magic? Before sealing, you can sprinkle in fine glitter or shimmer powder. Just make sure everything is dry before the next step.
5. Apply the Epoxy Resin Top Coat
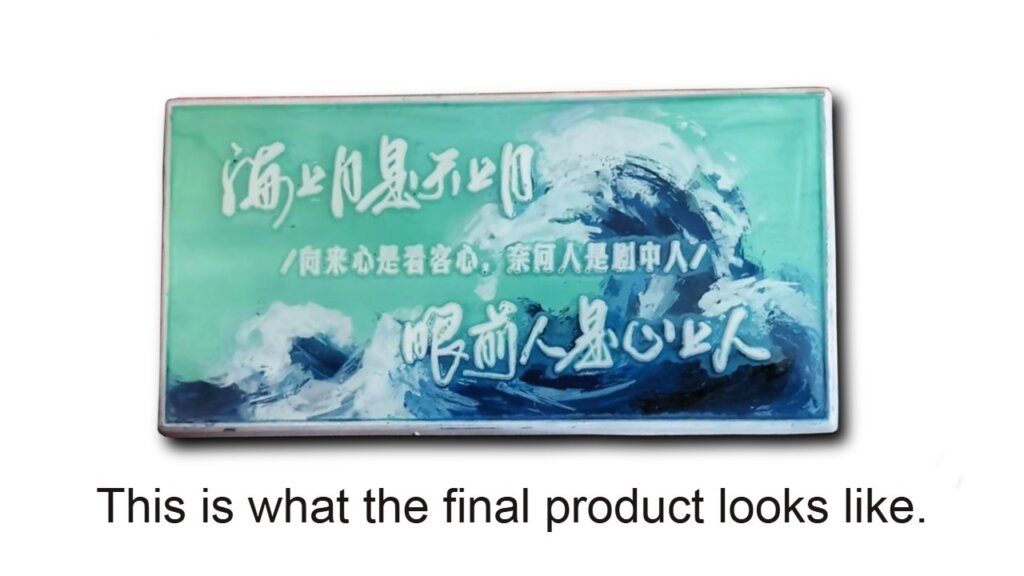
Once you’re happy with the coloring and effects, it’s time to seal everything in. Slowly drizzle a thin layer of AB resin over the pin — go a little at a time, not all at once. Use a toothpick to guide it evenly across the surface.
Then, cure it under a UV lamp until it fully hardens. Voilà — you’ve made your own lapel pin!
💡 Bonus Tip: This DIY method isn’t just for fun — it’s also great for testing out color combinations or effects. Once you’ve nailed your design, you can send the finished sample along with color codes and materials to a factory for mass production.
Part 2: Mass-Producing Lapel Pins – Work with a Factory the Smart Way
When you’re ready to scale up, the DIY method ends, and the factory process begins. A typical custom lapel pin production process involves:
- Mold creation based on your design
- Stamping the metal base
- Plating with finishes like gold, nickel, black dye, etc.
- Filling enamel colors or applying special effects
- Polishing, coating, and packaging
It sounds straightforward, but working efficiently with a factory takes some finesse. Here are some key tips to make the process smoother — and avoid costly mistakes.
✅ Always Approve the Digital Proof Carefully
This might sound obvious, but it’s the #1 place where things go wrong. Double-check your spelling, plating finish, pin position, and size. One of our past clients — a pin designer based in Hainan — accidentally misspelled “Jujutsu Kaisen” by omitting an s. Unfortunately, the mistake was on the front of the design and made it all the way into the mold. At that point, it’s too late to fix without remaking everything.
So take your time when reviewing proofs. A few extra minutes of attention can save you weeks of delays and extra costs.
✅ Ask for Progress Updates and Color Checks
Once production starts, it’s okay — even encouraged — to check in with your factory rep. Ask for photos or videos of progress, especially if your design includes specific Pantone colors or special effects like glitter or transparent enamel.
Factories handle multiple orders at once, and while most are pretty accurate, checking in helps ensure your pin looks the way you envisioned.

✅ Stop Making Changes After Final Proof Approval
We get it — it’s tempting to tweak things here and there, especially if inspiration hits. But once you’ve confirmed the digital proof, the factory will start production immediately.
Minor changes might still be manageable. But big changes (like altering design elements, size, or plating) can mean the factory has to scrap the existing batch — and you’ll likely have to pay for those wasted materials.
So confirm your design only when you’re 100% ready, and resist the urge to make last-minute changes afterward.
✅ The More You Order, the Lower the Price Per Pin
This isn’t just sales talk — it’s basic math. When you order in larger quantities, the setup costs (like the mold fee) are spread across more units, which brings your cost per pin down significantly.
Even small jumps in quantity — like ordering 50 pieces instead of 30 — can noticeably lower your unit price. If you’re considering making multiple designs or planning to restock later, ask about volume discounts or mold re-use policies to save even more.

Ready to Go Beyond DIY?
DIY lapel pins are a fun way to experiment with colors, textures, and personal touches — and a great way to test out your ideas. But once you’ve landed on a design you really love, or if you’re ready to produce in bulk, it might be time to take things to the next level.
At Factorypin, we help artists, collectors, and small brands bring their custom lapel pins to life — with reliable quality, friendly service, and quick turnaround. Whether you’ve fine-tuned your design by hand or just have an idea in mind, we’re here to make the process smooth and stress-free.
Ready to turn your vision into pins you can proudly share (or sell)?
Let’s make it happen »