How to Make Your Own Enamel Pin?
Creating your own enamel pin is easier than you think. Whether it’s for merch, events, branding, or your personal collection, this guide walks you through every essential step—from artwork to production to choosing the right manufacturer. Use these shortcuts, templates, and factory insights to avoid mistakes and get your custom enamel pins made exactly the way you imagine.
Step 1:
Prepare Your Design Files
Your artwork is the foundation of a great enamel pin.
If you already have a design, make sure it’s saved in vector format (.AI, .PDF, .EPS). Vector files keep lines sharp and ensure accurate metal outlines during mold making.
No artwork yet? You can sketch it, hire an artist, or use templates—but keep shapes clean and avoid extremely thin lines. Enamel pins look best with bold outlines and clear color blocks.
If you need help getting started, check out our guide on how to design enamel pins even if you can’t draw.
If you’re unsure whether your design is enamel-friendly, send it to us—we’ll adjust stroke width, spacing, and color zones so it can be produced smoothly.
Step 2:
The Back Matters Too
| Pin Size | Recommended Pin Backs | Reason |
|---|---|---|
| < 1 inch | 1 | Generally sufficient |
| 1–1.5 inch | 1–2 | Prevents rotation |
| > 1.5 inch | 2–3 | Prevents tilting |
To keep your enamel pin securely in place, we strongly recommend using at least two pin posts for most designs.
Pin size is usually measured by the longest side—either width or height. The table above is for general reference only.
• If your pin is wider than it is tall, additional pin posts should be placed horizontally.
• If your pin is taller than it is wide, pin posts should be added vertically.This layout prevents rotation, improves stability, and ensures your pin sits firmly on clothing, bags, or backing cards.
Most people focus on the front, but the back determines:
Whether your pin rotates
Whether it falls off
How stable larger pins are
Whether you can add a logo or edition number
Optional Back Features
• Company & Organization Logos
Businesses, clubs, and event organizers can add a logo or slogan on the back to reinforce brand identity and make the pin feel more official.• Limited Edition Numbering (LE)
For artist pins or collectible designs, adding individual LE numbers gives each piece a unique identity and higher collectible value.• Custom Back Cards
Small businesses and IP-based brands can design matching backing cards to promote their story, social media, or product line—turning a simple pin into a premium retail item.
These are the two main enamel pin styles:
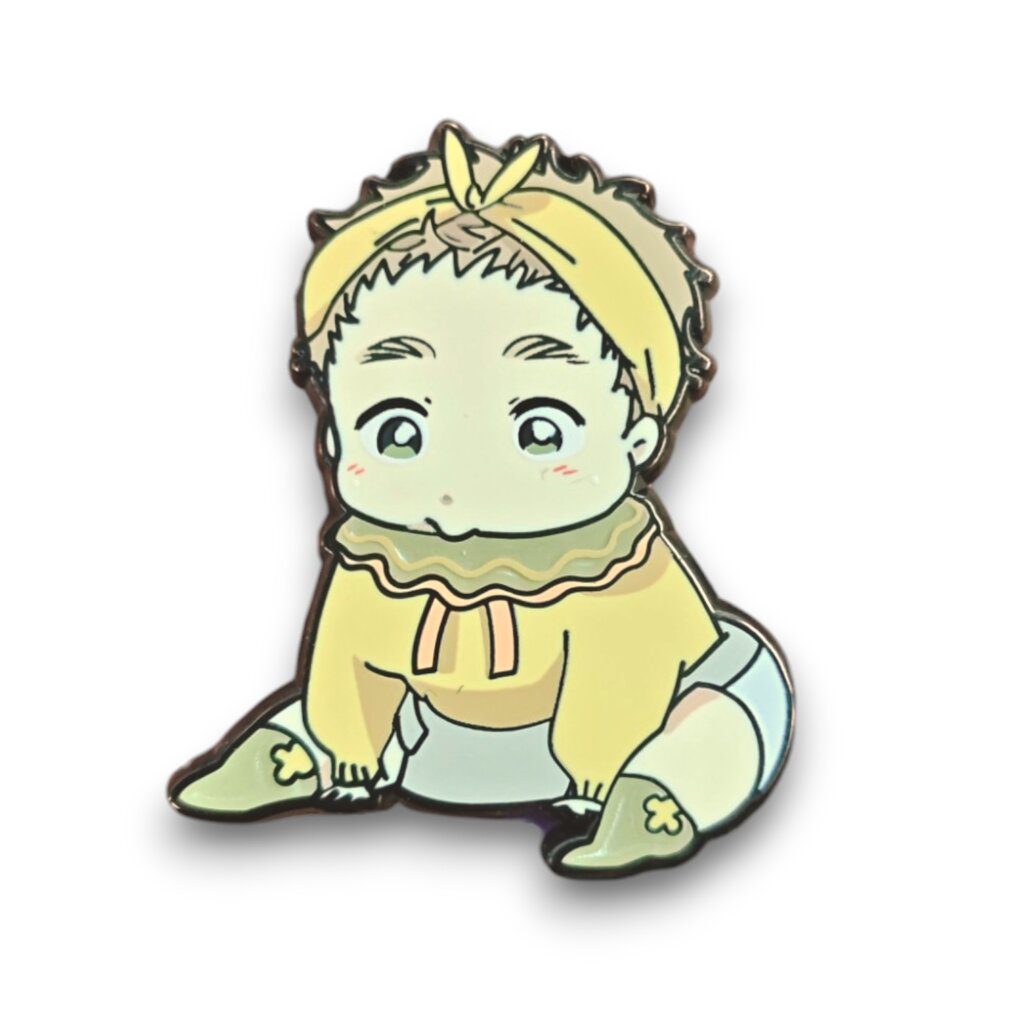
A textured surface with raised metal lines and recessed color areas.
- Noticeable tactile texture
- Slightly deeper, more muted color look
- Faster production
- More budget-friendly
Best for:
Company event pins, vintage-style designs, simple lapel pins, promotional giveaways, and designs that benefit from a bold, handcrafted feel.
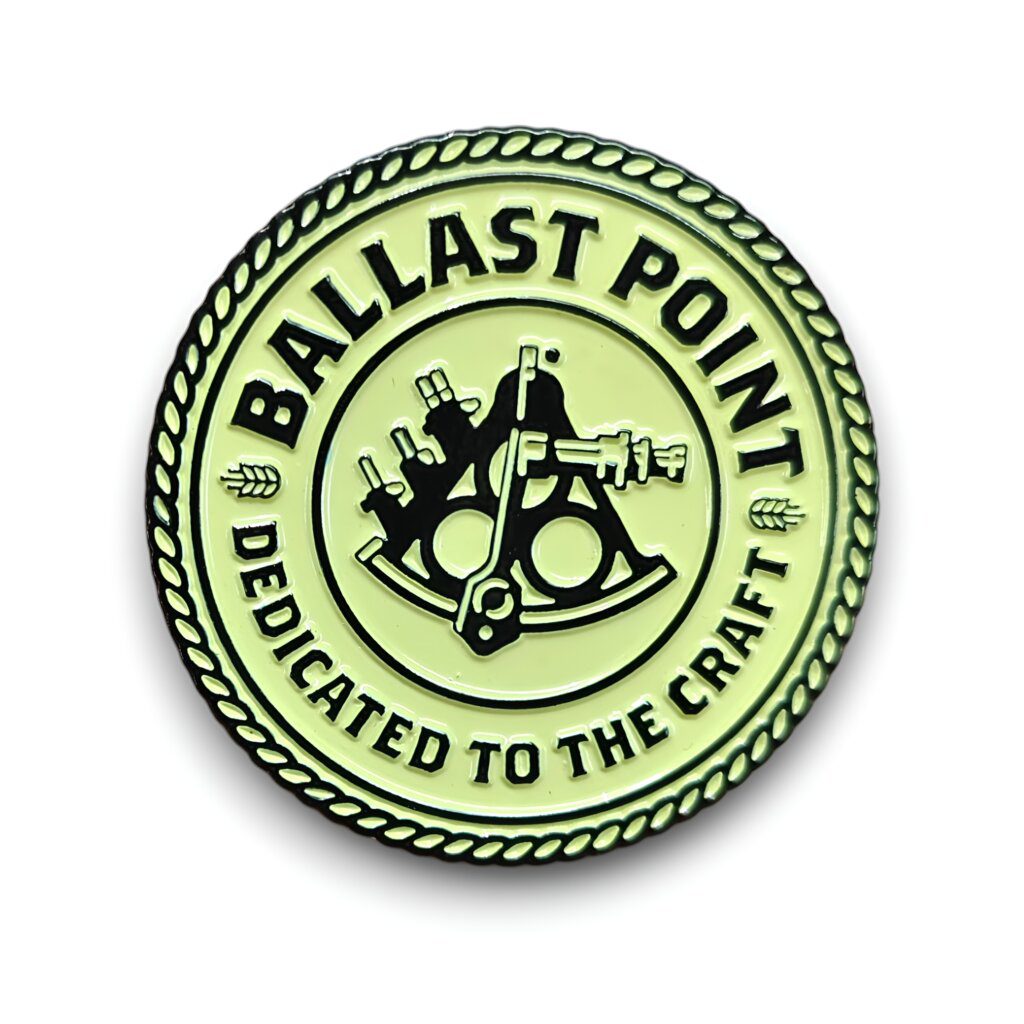
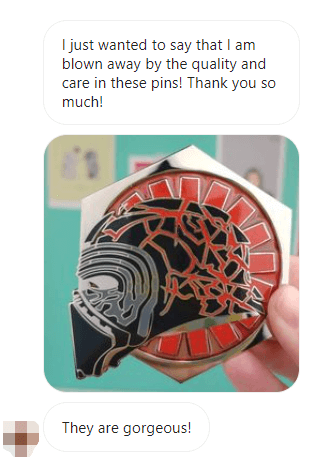
A polished flat, smooth, glass-like surface.
- Bright and vivid colors
- Premium, jewelry-quality finish
- More durable for daily wear
- Longer production time
- Higher cost
Best for:
High-end corporate pins, anime character designs, brand logos, gifts, and projects where a clean, luxury look is essential.
Step 4:
Pin Plating Options
Plating defines the metal color of your enamel pin and affects the entire look and feel.
Factory Tip
- If your design includes texture or shading, antique plating gives the best depth.
- Avoid black nickel for large flat surfaces—it scratches more easily.
- Soft enamel pins can be paired with all plating finishes, including rainbow, antique, dyed, and special-effect platings.
- Hard enamel pins cannot use certain finishes such as rainbow plating or antique plating, as the polishing process would remove these effects.
Step 5:
Budget, Quantity & Timeline Planning
Enamel pin pricing depends on:
Pin size
Hard vs. soft enamel
Number of colors
Plating
Special effects (glitter, glow, transparent enamel, UV print)
Packaging
Quantity
| Factor | Effect on Cost | Factory Advice |
|---|---|---|
| Enamel Type | Hard enamel > Soft enamel | Use soft enamel for small runs; hard enamel for polished finish and durability |
| Size & Complexity | Larger/more detailed pins cost more | Simplify tiny elements where possible |
| Colors & Effects | More Pantone colors or effects increase cost | Consolidate similar colors across designs or skip non-essential effects |
| Quantity | More units reduce per-pin cost | Ask if similar designs can share molds to save on setup fees |
| Packaging | Custom backing cards or boxes add cost | Design versatile packaging usable for multiple pin designs |
Factory Tip
- Align your timeline with production lead times (Soft enamel: 14–20 days Hard enamel: 30–40 days).
- Avoid black nickel for large flat surfaces—it scratches more easily.
- Confirm designs and payment early to avoid delays.
- Rush orders are possible, but additional fees apply.
Step 6:
Choosing Your Manufacturer
Your enamel pin manufacturer determines 70% of the final result.
Look for factories that offer:
Clear artwork review
Accurate Pantone color-matching
Professional mold making
Stable plating quality
Fast sample confirmation
Low defect rates
A responsible manufacturer with smooth communication allows you to relax after submitting your design. You’ll receive clear artwork confirmation, real-time production updates, and photos before shipping—so you always know whether your pins meet expectations and when they’ll be delivered, without having to chase for information.
That is why we recommend working with Factorypin. We save molds for 2–3 years, offer a wide variety of custom options, and keep you updated on your production progress. With a 70% repurchase rate, our customers trust us to deliver high-quality enamel pins every time.
If you have any questions during your custom pin process, feel free to contact us—we’re happy to provide professional guidance.