We’ve been working with Rachel for a little over six months now.
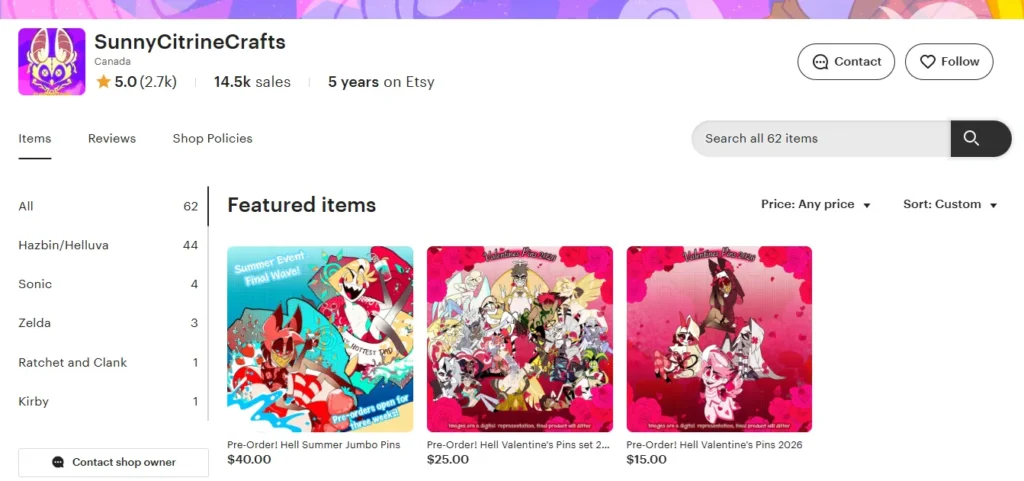
She’s been running SunnyCitrineCrafts on Etsy for about five years now. It didn’t happen overnight — but over time, her designs have sold more than 14,500 times.
What started as just a few pin ideas gradually turned into a much larger collection. In the past six months, we’ve helped her bring nearly 100 designs to life.
How It Started
This isn’t one of those “single order” stories. It’s more about what it’s like to work together over time.
Rachel first reached out when she was looking for a new supplier. One of her main concerns was packaging — her previous supplier just wasn’t meeting her expectations there.
She started working with our rep Alex about seven months ago. Since then, things have been pretty easy to move forward.
Most of her designs are inspired by Hazbin Hotel, with sizes ranging from 1.25 inches to 4 inches. A lot of them include gradient colors, along with finishes like glitter and pearl powder. We also put her logo on the back of every pin — just to keep things clean and branded.
One Example Project
This particular design came in on December 10th, 2025.
We sent over a quote the same day, and she decided to move forward shortly after reviewing it.
The timeline looked something like this:
- Mold creation: 3 days
- Enamel filling: 10 days
- UV printing: 2 days
- Silk screen printing + special powder effects: 7 days
- Shipping: about a week
The product is currently in pre-sale.
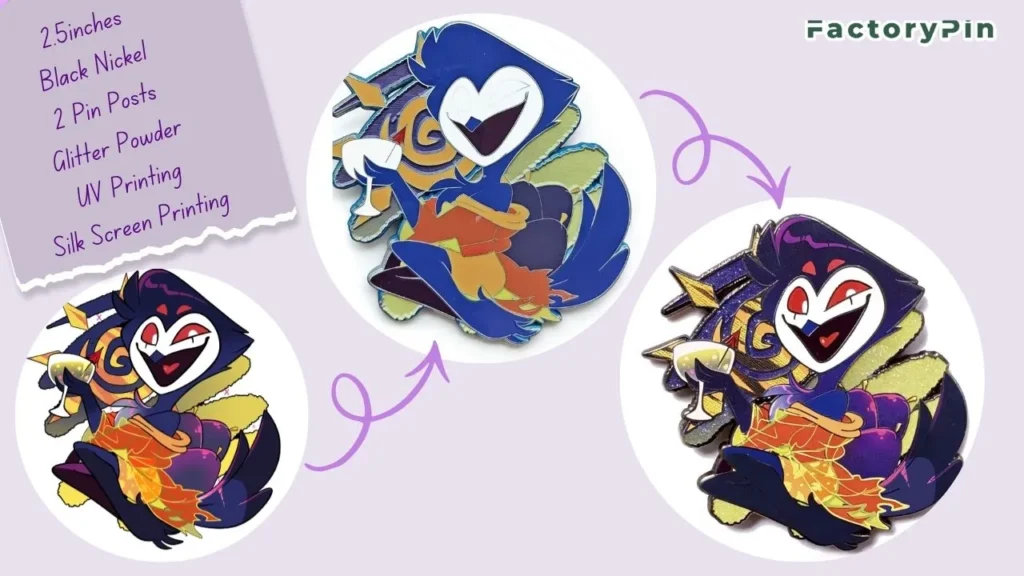
Below is a closer look at the design and part of the process.
What Looks Simple Isn’t Always Simple
This design looks pretty straightforward, right? Well, it wasn’t that simple once we got into it.
The tricky part was figuring out how to apply the glitter across different areas. Some areas used regular enamel filling, while others sat on top of gradient colors.
Normally, gradient colors need UV printing — we explain why in our special effect guide. But enamel has to be baked at high temperatures, and UV printing can’t survive that heat.
It makes things a bit tricky when both are involved.
Adjusting the Process
Finishes like glitter are often applied after the main coloring process. But in this case, things worked a little differently.
We adjusted the whole sequence.
Enamel and glitter first, then UV printing, and we added glitter again on the gradient areas.
That way, the glitter stayed bright, and the gradient still came out right.
And the result came together the way we hoped.
Final Details
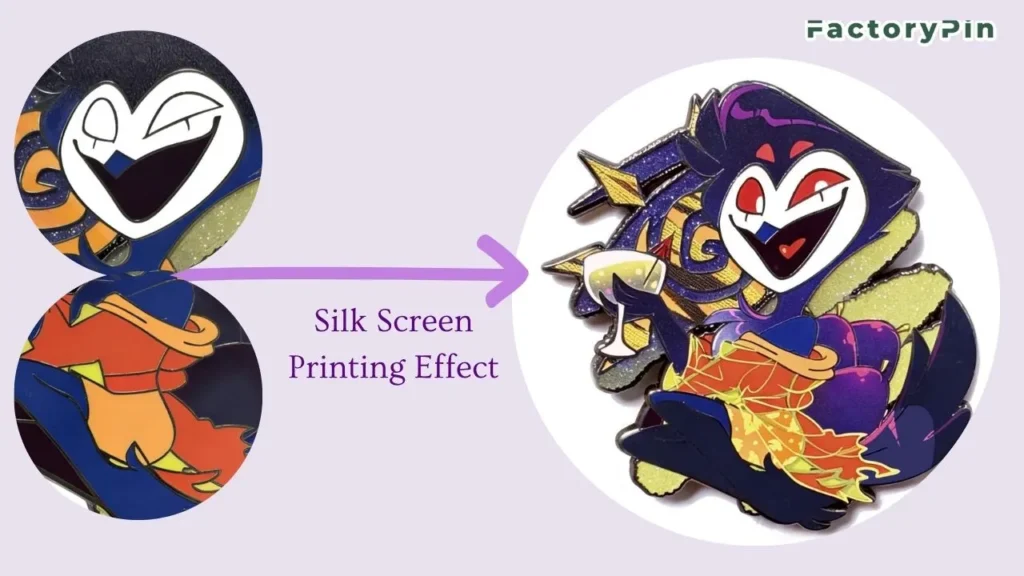
Screen printing normally comes last.
On this design, two areas needed it — you can see them in the images. We tweaked them until they looked almost exactly like her original artwork.
Alex checked in with Rachel the whole way — matching enamel colors, tweaking powder effects, double-checking screen prints, and making sure shipping went smoothly.
The Result
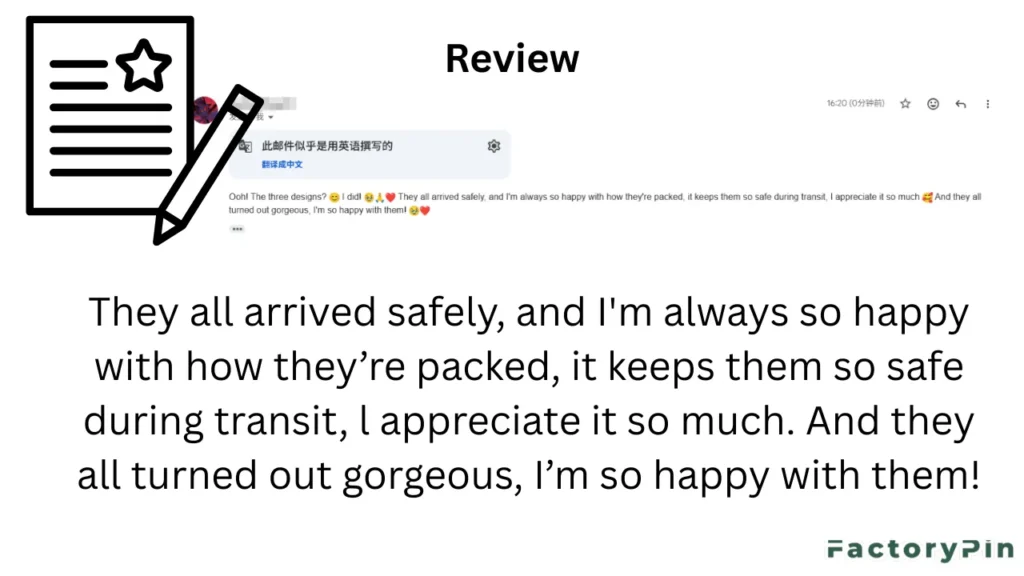
Fortunately, Rachel loved the final product. The packaging especially — that was her biggest worry from the start.
We’re glad we got to be part of this. And we’re excited to see where her shop goes next.
We’ve been doing this for a long time, and projects like this are still the ones we enjoy the most — figuring things out and helping bring ideas to life.
